Let's talk about creating for a little bit. I run a little tiny store on my alt, and sometimes I consider giving it up because I seem to always run into one problem or another. Learning mesh is a difficult process! It's a complete nightmare, and there isn't very many tutorials, or information about how creators create. I've said it before... creating in SL is a VERY closely guarded secret. And that makes me sad. I've picked up the bits of programs that I know from various random tutorials and guides out there. I would really love to start doing informational posts on how to create things, but I really feel like I don't know enough to do it. One day, right?
Anyway, for my alt's little store, I have been working on a gacha item - a pouf. I struggled for days with this thing, got so upset with it at times that I found myself unable to sleep. I've decided to write this post, to kind of give insight into the creative process that is mesh. If you guys like these "creating" posts, please let me know in the comments! I will try to do more of them!
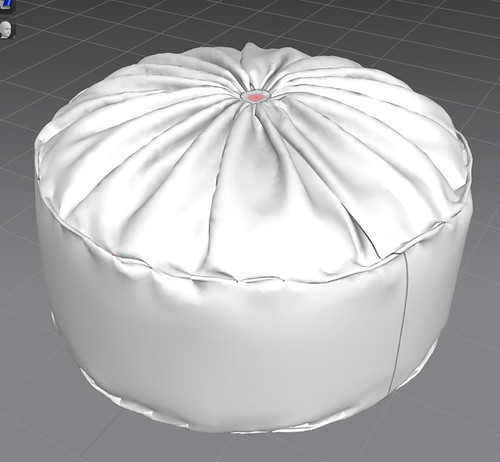
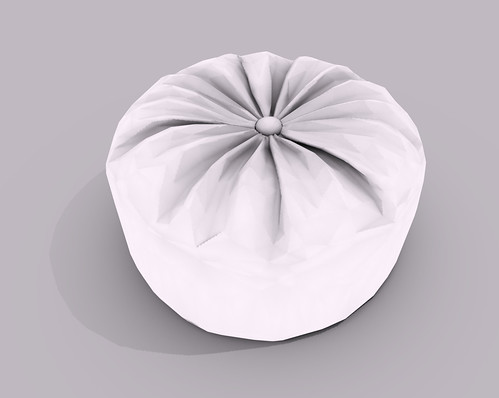
First, I start off designing in Marvelous Designer. It gives me the basic shapes I need to work with, a very solid foundation for the mesh. This step is usually one of the easiest, but this time it gave me so many fits, I don't know why! Every single change I made to this design, it took up to 45 minutes to sync the pattern, it was so frustrating! Anyway, the above photo is what my final design looked like in Marvelous Designer. It wasn't really how I envisioned it in my head, but it was okay.
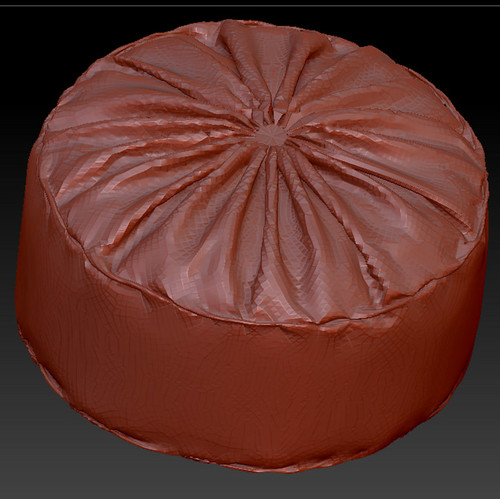
Next step, I take it into ZBrush. This is how it looks before anything else happens to it. I originally started the ZBrush stage because I like the ZRemesher tool in it. Marvelous Designer exports as triangle mesh, and I want quadrangles. ZRemesher turns the tris into quads. Now I have Marvelous Designer 4, which has quads now, I still find that I like how ZRemesher lowers the amount of faces on the mesh. So I still use it.
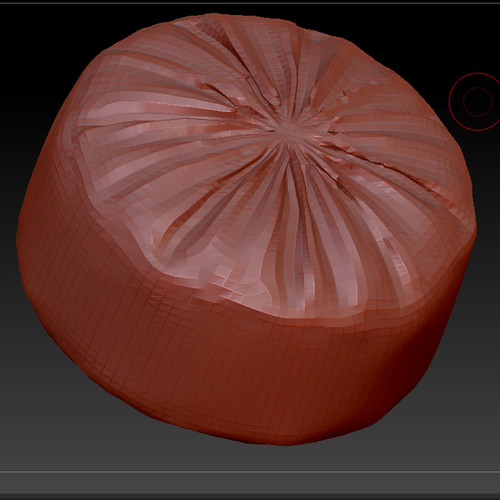
After running ZRemesher, this is where I lose a lot of the Marvelous Designer folds and such. It's disappointing sometimes because they are very beautiful - but the geometry numbers on them is HUGE. Anyway! We lost a bit of detail here - but I'll still take it!
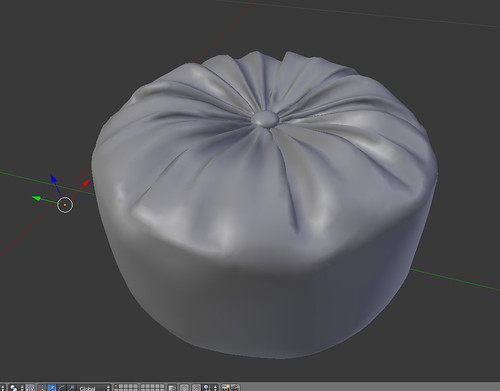
Next - Blender. My husband went to RL schooling to learn 3ds Max. He tried to teach me what he knew, but I was intimidated, and couldn't find many other tutorials on it. I got frustrated and gave up. Blender, however is a free resource, and I found has MUCH more information on it. Getting off track now... Blender is where the majority of the rest of the work is done. In here, I added the button in the middle, I clean the meshes up in here. Also, if I'm doing clothing, I'll size them and rig them, fit them to the Slink mesh body, and try to do my best at weighting. I'll also delete some faces that you won't see, like the bottom of the pouf, or the inside of clothing. To save on geometry.
After I took the above screenshot, I uploaded it to SL, the land impact of that was 26! No thanks! I used the "decimate" modifier to bring the geometry down a bit, uploaded it again to SL, it was down to 2.
Next, I upload to SL, see how it looks, check land impact. If I'm making clothing, I'll wear it, see what weights or modifications I need to do. Then take it back into Blender, fix things, and re-upload. The Beta grid is wonderful for this - you get to see exactly how it looks on the avatar, but not get broke by the cost of upload fees. Also, I check the ambient occlusion map, see if it looks okay!
After everything looks great, I go to Photoshop to texture the ambient occlusion map,and smooth out any part of it that needs smoothing. In the pouf's case, there was some jagged looking edges on the map that needed a little blur. Finish texturing and upload to SL.
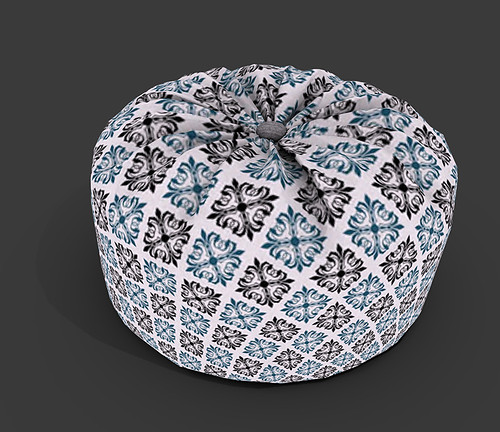
And here we have our finished pouf. It looks quite a bit different than when I started, but it still looks great!

